
LETTERS of ARA
An online journal & newsletter, exploring areas of influence & interest for Ara the altar.

Behind the altar | Vol. 3 NATURAL DYEING WITH EUCALYPTUS
How to dye natural fabric with eucalyptus leaves — a step by step guide

Ara’s European hemp pockets — naturally dyed with eucalyptus leaves
VOL. 3 —
NATURAL DYEING WITH EUCALYPTUS
For this month’s volume of Behind the altar, I thought I’d share the process I’ve just been through to dye Ara’s next batch of hemp pockets.
Every piece of Ara adornment is accompanied by a european hemp pocket, designed in house and ethically made here in the UK with minimal waste.
For each new batch of bags, I naturally dye the fabric by hand, using botanical or food waste dye.
David was due to prune a eucalyptus tree so I thought I’d put the leaves to use for my next batch of hand dyeing, rather than letting it go to waste.

Freshly pruned UK grown eucalyptus leaves
PREP THE FABRIC
For natural dyeing, there are several steps to prep the fabric:
Scour the fabric —
I washed it on a cool wash with PH neutral washing powder. This step is to remove any residue on the fabric that could impact the dyeing process
Soy milk binder —
When using plant based fibres, the colour can bind better to the fabric if treated first with soy milk.
Lyra and Atlas have a helpful guide to pre-treating your fabric with soy milk here
This is a fairly slow process so worth doing around a week in advance for the full benefit.
Soak —
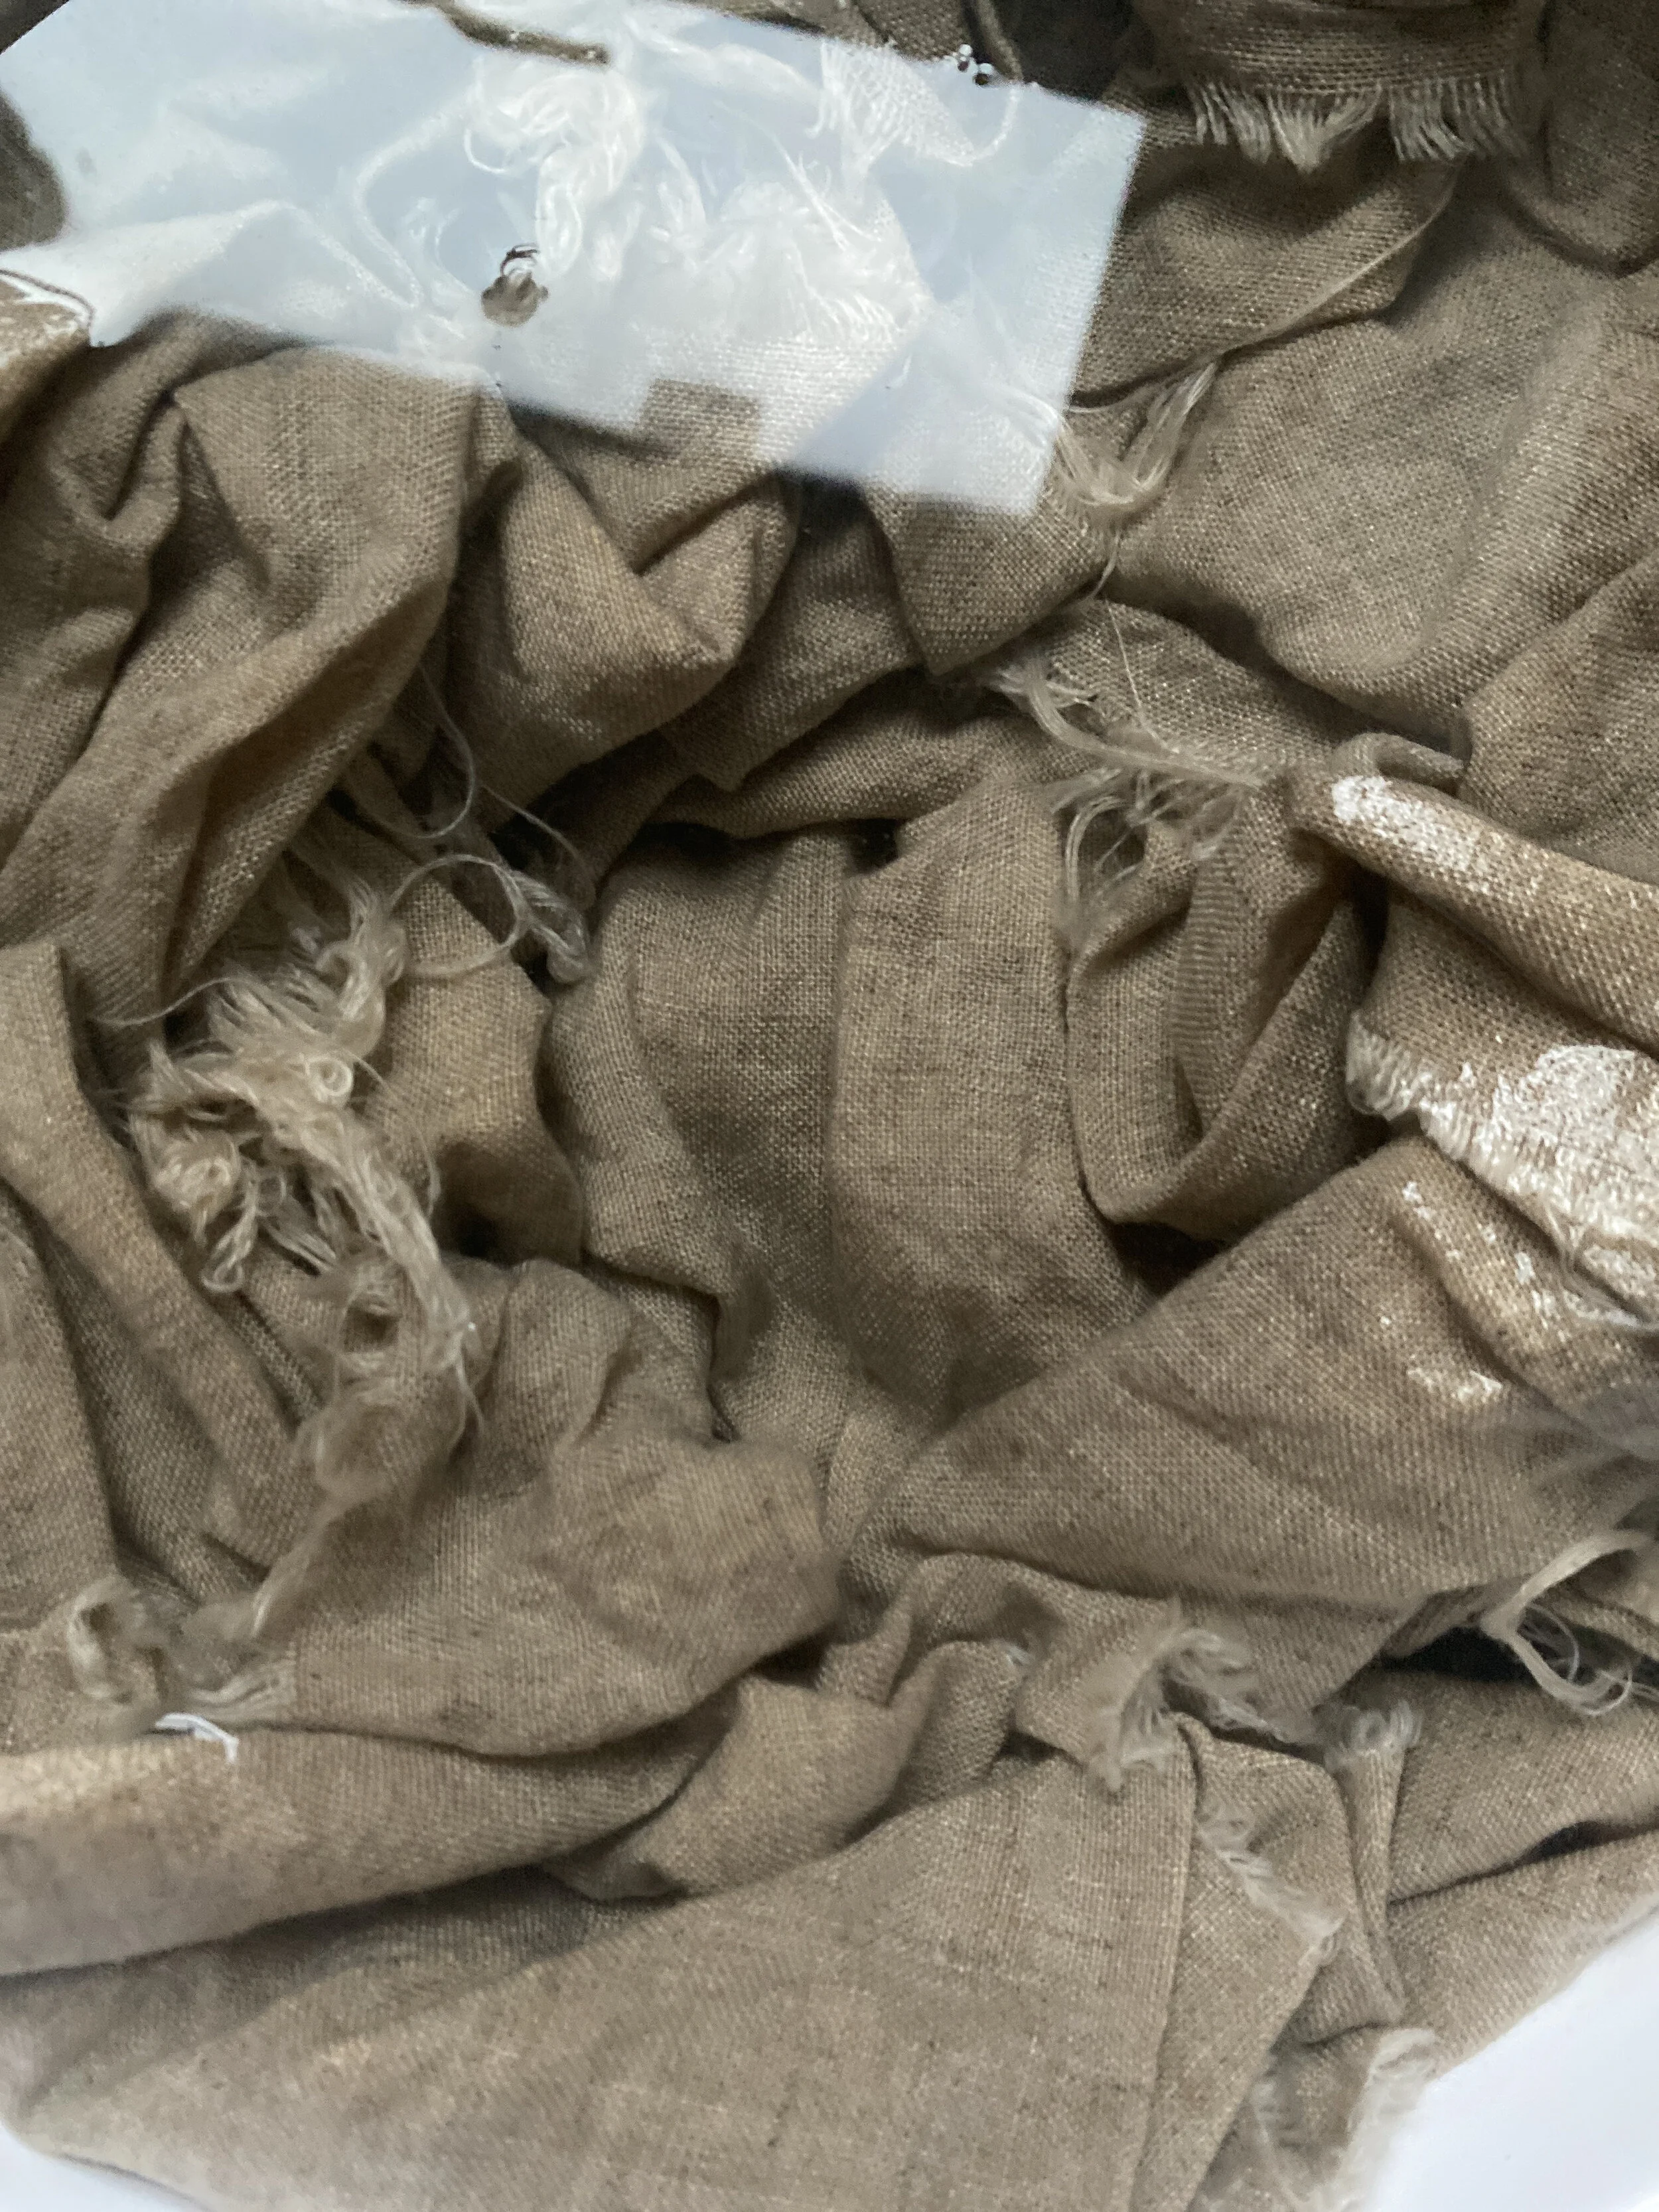
Once ready to prepare the dye, I popped the fabric in water to soak which allows any creases to lessen before I placed it into the dye bath.

The pre-treated hemp fabric soaking in water
2. CREATE THE DYE BATH
I separated the eucalyptus leaves from their stems (in hindsight I may have gotten some good colour for the stems so I will try including those next time). I tore up the leaves exposing more of the inside of the leaf, to help extract as much of the colour as possible.
The pot
NB — I use a large aluminium pot for my dye baths. Some dyers advise using a stainless steel pot as this will not result in a reaction from the dye to the aluminium. An aluminium pot could be another factor that would impact on the colour the dye takes.
I filled up my pot of leaves with water and brought it to the boil before quickly reducing the heat to a simmer.
From here I kept returning to the pot every so often to see how the colour was developing. Once it had reached a bold enough colour I took the pan off the heat and removed the leaves with a sieve.
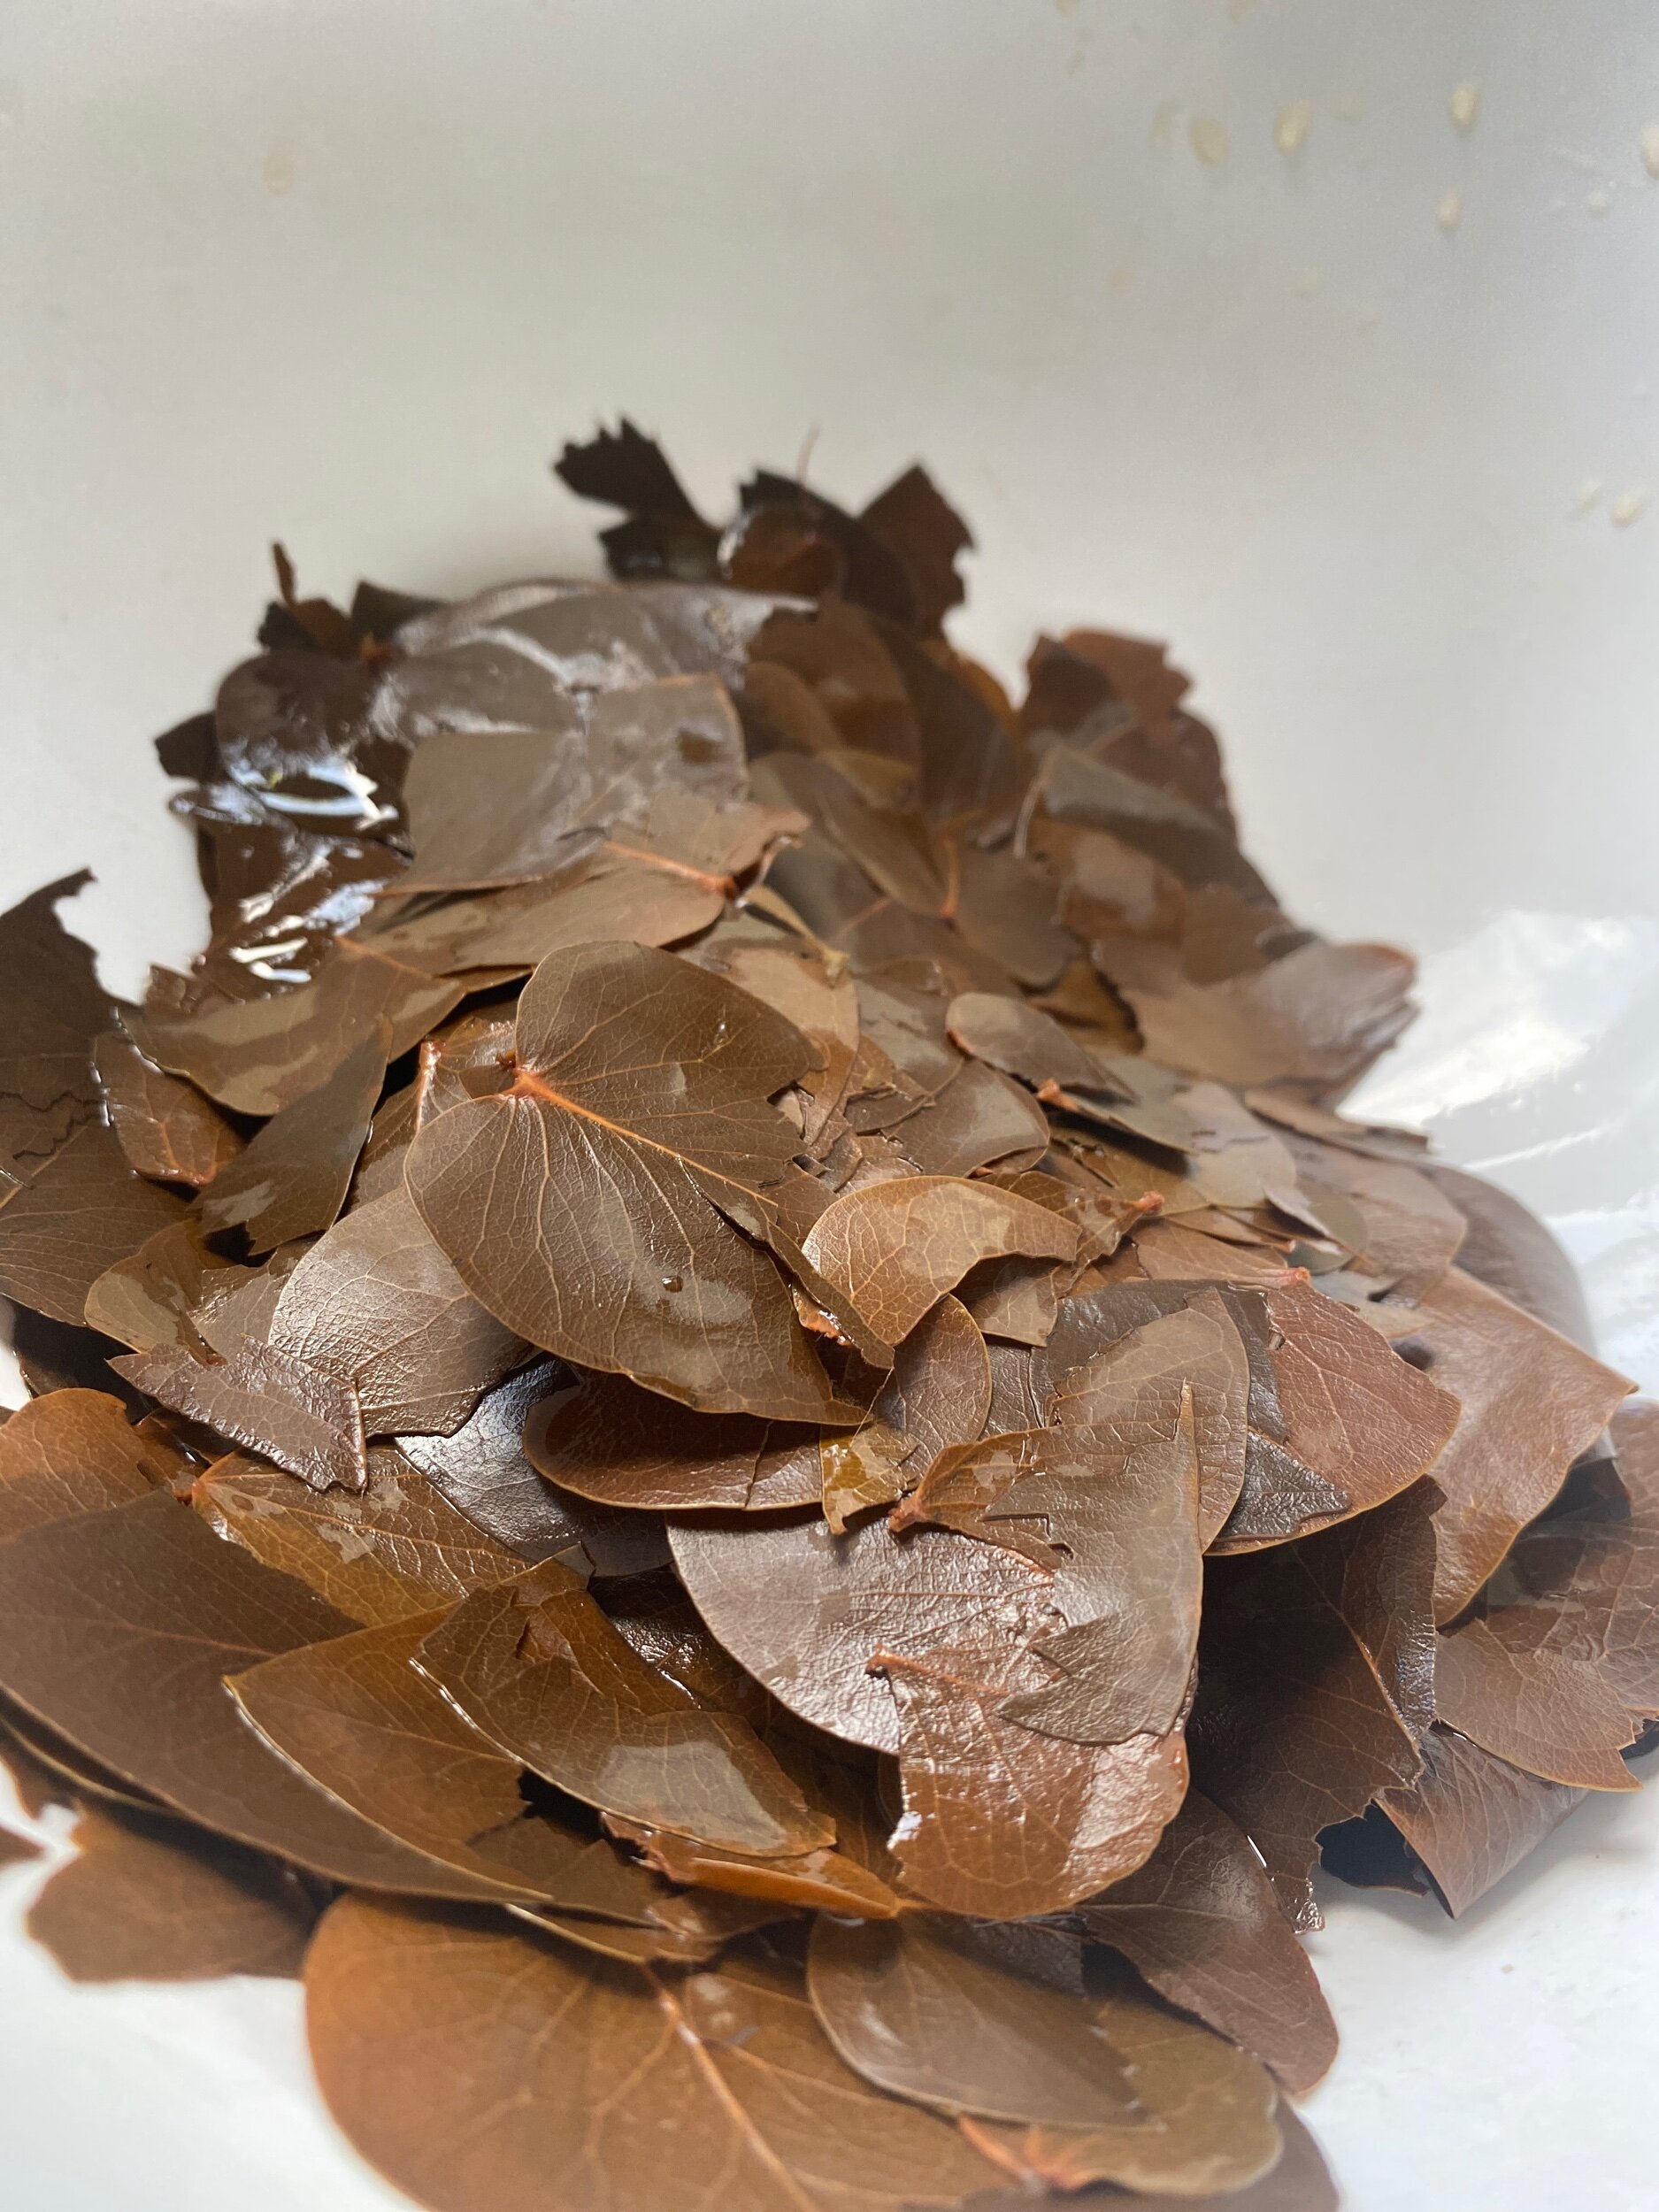
The eucalyptus leaves after the dye has been extracted
3. DYEING THE FABRIC
I added one piece of water soaked fabric to the dye bath at a time to make sure the fabric had room to move around within the pot.
I returned to pot to stir the fabric regularly so the dye wouldn’t sit for too long in any creases.
The fabric is ready to remove as soon as you’re satisfied with the colour but leaving it overnight gives time for a deeper colour to develop on the fabric.

Stirring the hemp fabric in the dye bath
4. POST DYE
Once out of the pot, I washed the fabric with ph neutral washing powder once again.
I hung the fabric to air dry. This time I made the mistake of leaving some of my fabric to dry outside on a sunny day. When I brought it in once dry I noticed that one side of the fabric was lighter than the other! So the advice to avoid natural dye from dyeing in sunlight is best taken!
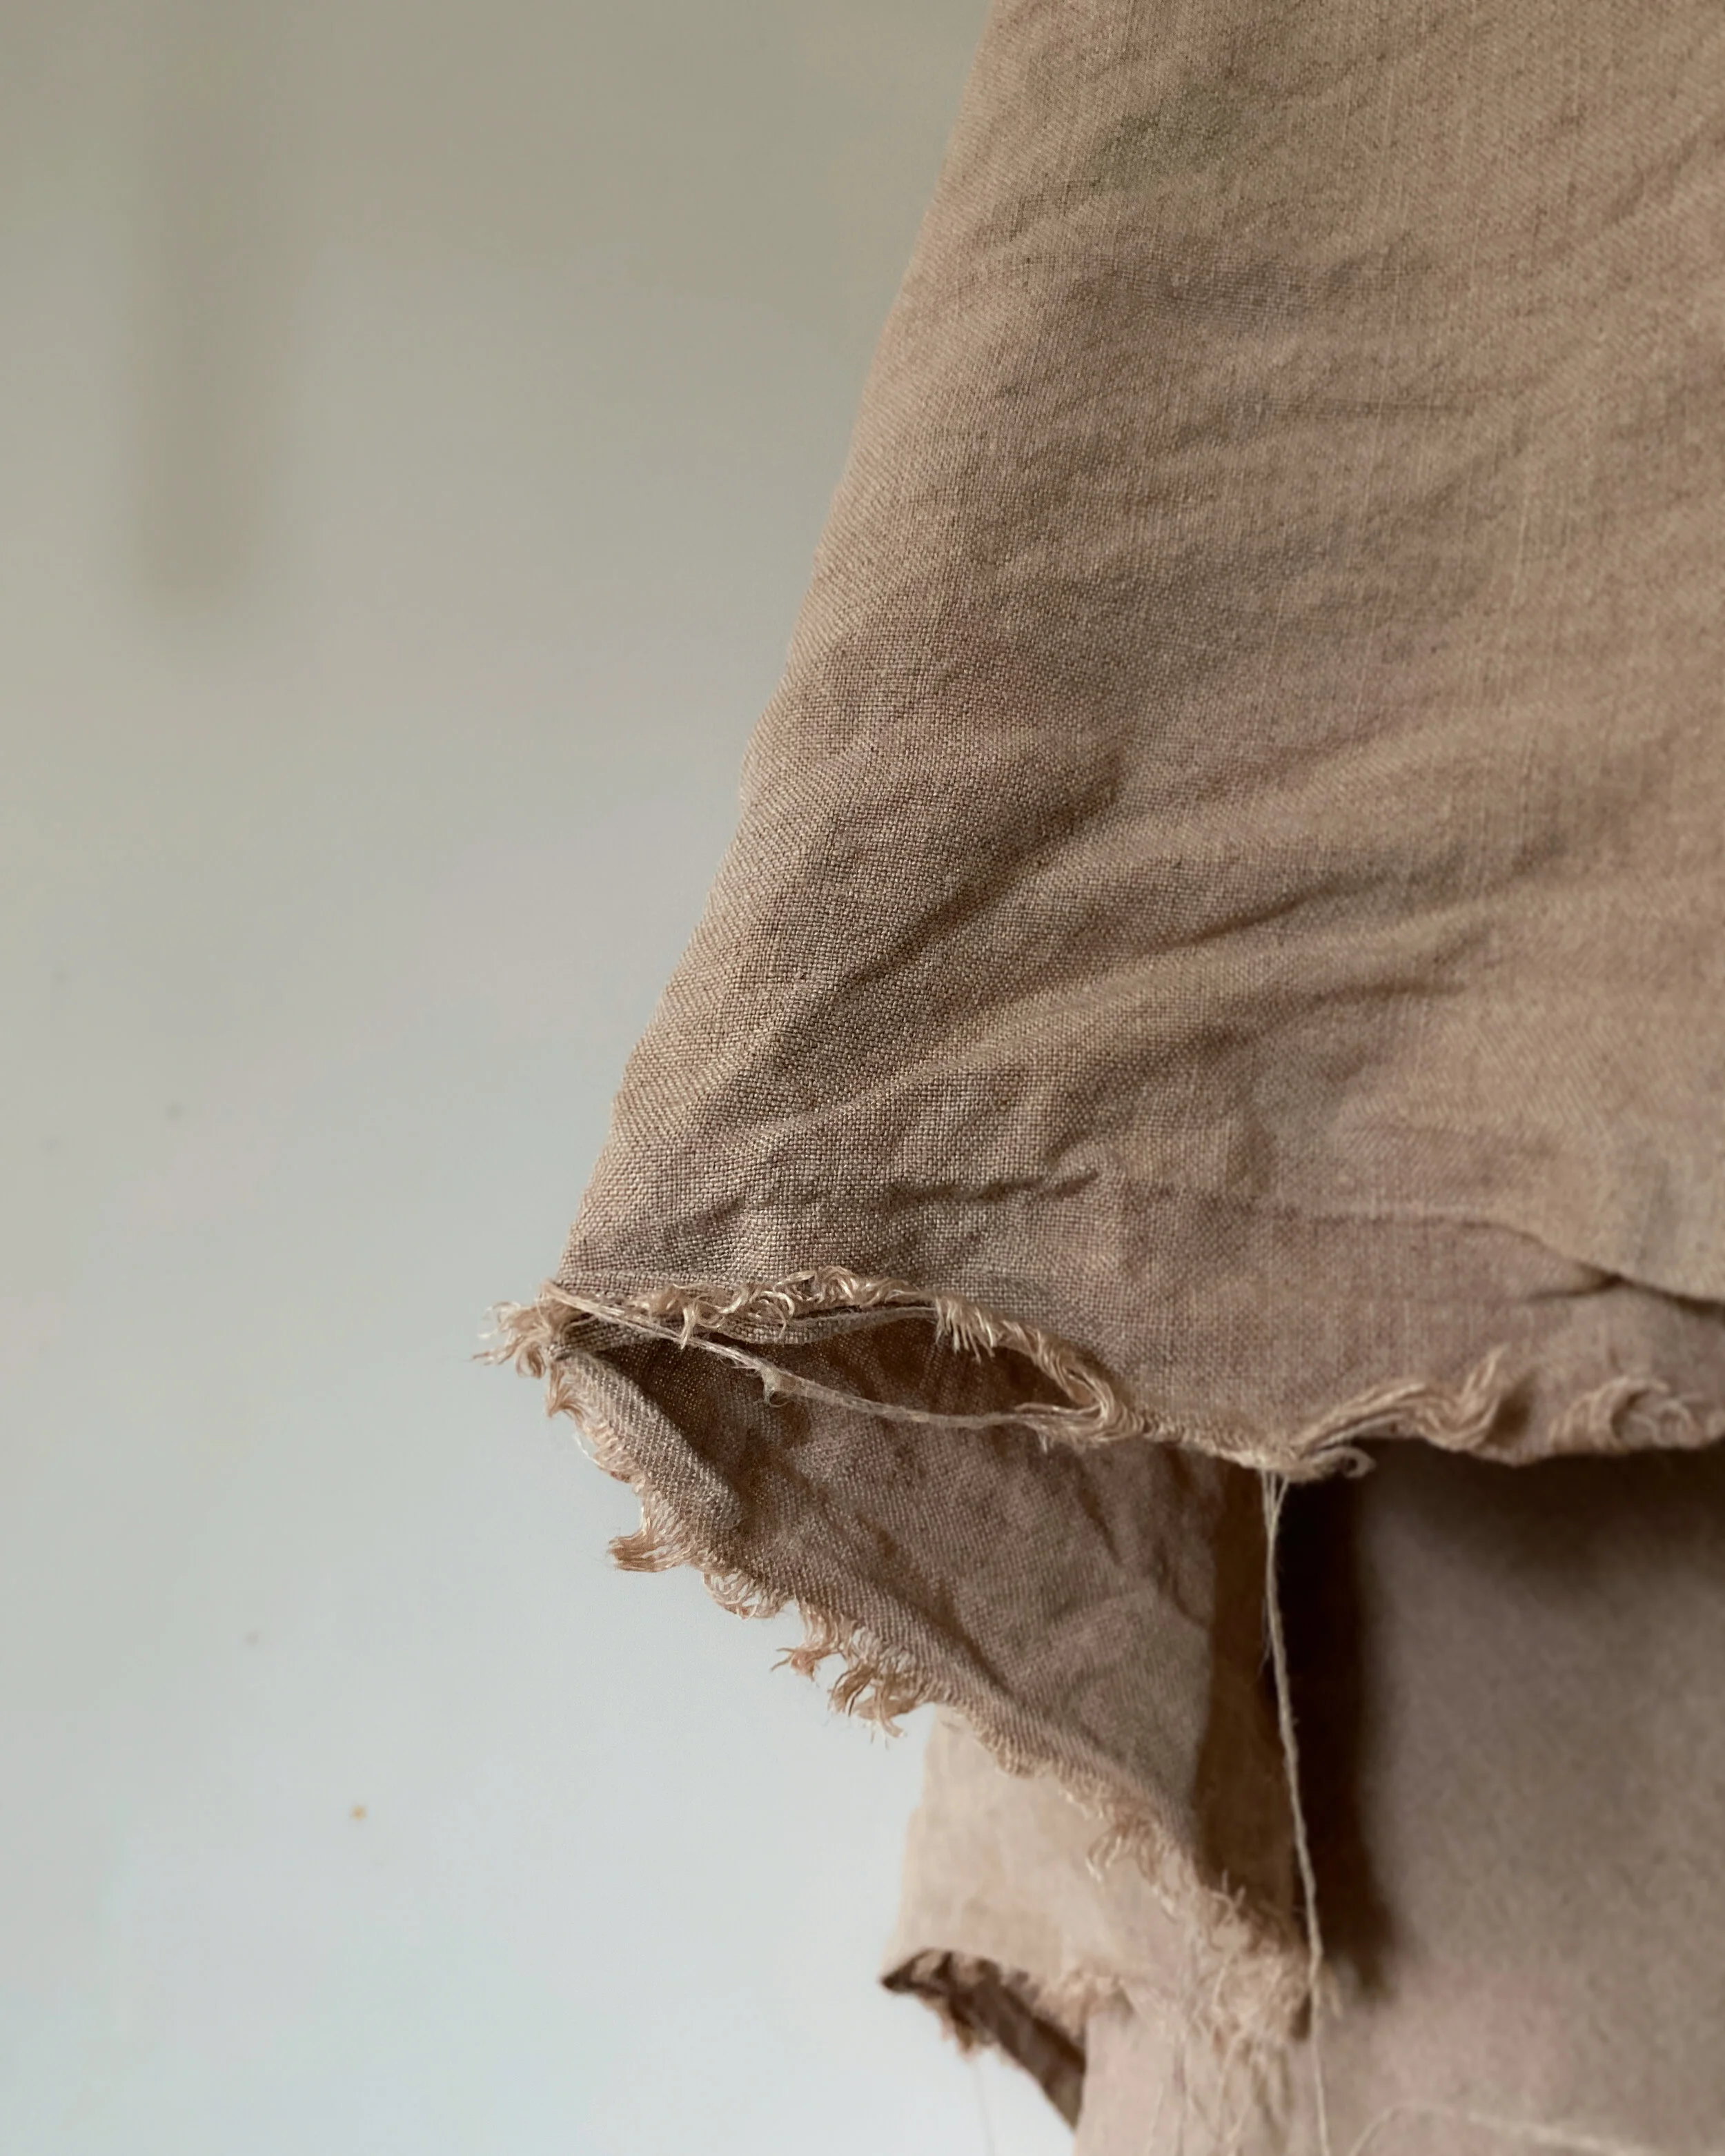
Interestingly I got several different shades of dye from the one dye bath, ranging from a soft sand colour, to earthy terracotta

Different shades of the air dried eucalyptus dyed hemp fabric
THE FINISHED BAGS
I gently steamed each piece of fabric to ease any creases from the wash and to try and get a smoother surface in preparation for sewing.
I sent the fabric to the talented UK based maker who cuts and sews the dyed hemp fabric into Ara’s uniquely designed pockets, to keep Ara adornment safe.
The pockets are carefully sewn with GOTS certified organic cotton thread. The very little waste that is produced from the edges of the fabric is returned to me to be repurposed.

A finished hemp pocket
I hope you enjoyed this insight into the process of natural dyeing with eucalyptus leaves.
I have a list of topics growing for subjects to explore as part of Behind the altar — if there’s anything you’re curious for me to explore, just let me know.
L x

NATURAL DYEING WITH PINE NEEDLES
I share the process I used to naturally dye European hemp fabric with pine needles, for Ara’s accompanying bags

European hemp fabric hand dyed with pine needles
NATURAL DYE | A PROJECT
—
Last year I began a long overdue project to naturally dye the fabric used to make the bags which accompany Ara adornment.
I began my dyeing journey with avocado stones and skins - producing a dusty rose (if you’re new to avocado dyeing I wholeheartedly recommend Kathryn Davey’s ebook) and then onion skins - producing a rich ochre and a soft apricot - pictured below.

Ara adornment accompanying bags, naturally hand dyed with onion skins
PINE NEEDLES
—
It seemed fitting to begin this year by putting to use something I had in abundance - pine needles.
I couldn’t find much advice online about creating a dye bath with pine needles but I knew it could be done so went into it with an open mind and relatively low expectations.
I ended up so besotted with the soft mauve-clay colour produced by the pine needles that I dyed four pieces of my European hemp fabric with the same dye bath.
I am no expert in natural dyeing but if you’re interested in the ins and outs, I’ve shared my process below —

I | PREPARE THE FABRIC
The natural fibres of the hemp fabric I chose to work with needed to be scoured before dyeing to ensure the fabric would take the colour evenly. For this, I popped all of the fabric on a 40 degree wash with my usual fragrance free washing powder and a cup full of bicarbonate of soda - no fabric softener.
The second part of prepping the fabric was to soak it in water before it went into the dye bath. From previous dye projects I’ve gotten in the habit of soaking my fabric for about an hour before it was time to add it to the dye bath. This prevents the dye sitting in any creases once the fabric is added to the pot.
II | PREPARE THE DYE BATH
The general rule is to use 1 part dye to 2 parts water. If I’m honest I haven’t stuck to this religiously, I’ve enjoyed the freeing approach of working with what I have and I’ve still been completely mesmerised by the results.
This time, I collected a box full of pine needles (approx 30cm x 20cm) which went into a 20 litre aluminium pot. I usually dye one piece of fabric (1m x 1.5m) at a time - when it comes to the size of the pot and the amount of liquid you use, the main thing is that there’s enough liquid to cover the fabric, with a little room for it to move freely.
I filled the pot with cool water and added the pine needles, popped the lid on and brought the pot to a simmer, but not a boil. From this point I turned the heat down a little and left it on the heat for as long as felt right. I just played this bit by ear. Once I was happy with the direction it was going in I turned the heat off, leaving the pan on the hob.

III | STRAIN THE DYE BATH
Once I was happy that the water had taken the right intensity of colour, the next step was to remove the pine needles. I didn’t sieve the pine needles as I didn’t have a spare pot big enough to pour the liquid into. So I just fished them out with a fine mesh sieve.
Generally, if you want to achieve a really even colour the advice is to strain the fabric through muslin or a sieve. Any little bits left could result in deeper patches of dye on your fabric.

IV | ADD THE MATERIAL
After adding the material to the pot, I spent a bit of time gently working out any air bubbles in the fabric with a wooden spoon, making sure all of the fabric was submerged.
I brought the pot to a gentle heat again for an hour or so and to avoid the dye sitting in the creases, I’d return to the pot every so often to stir and unsettle the fabric.
And then it was just a game of patience. The longer you leave it, the stronger the colour will be (where there is still colour to give). It’s also worth bearing in mind that when the fabric is wet it’ll looks darker than it will once dry.

V | WASH THE FABRIC
When I was happy with the colour of the fabric I wrung out the fabric and popped it back in the washing machine with my fragrance free washing powder again and no fabric softener, to wash and rinse out the dye. This is always the scary part incase the dye all runs out but I was even happier with the final result than I imagined I would be.
Finally I hung it up to dry; the advice for naturally dyed fabrics is to avoid direct sunlight to prevent the colour from fading.
VI | REUSE OR REPURPOSE THE DYE BATH
One thing I noticed with the pine needle dye bath is that the intensity of the colour actually got stronger over time. I was so pleased with the results that I used the dye bath over and over again.
Once I was finished with the dye, I added it to our compost, to be returned to the earth.
~
If you decide to give this a try too let me know how you get on - I’d love to see your results.
The fabric I dyed will give me enough for a few batches of accompanying bags, as well as something else I have planned for this dusky coloured hemp.
I can’t wait to introduce you when the time comes.
L x